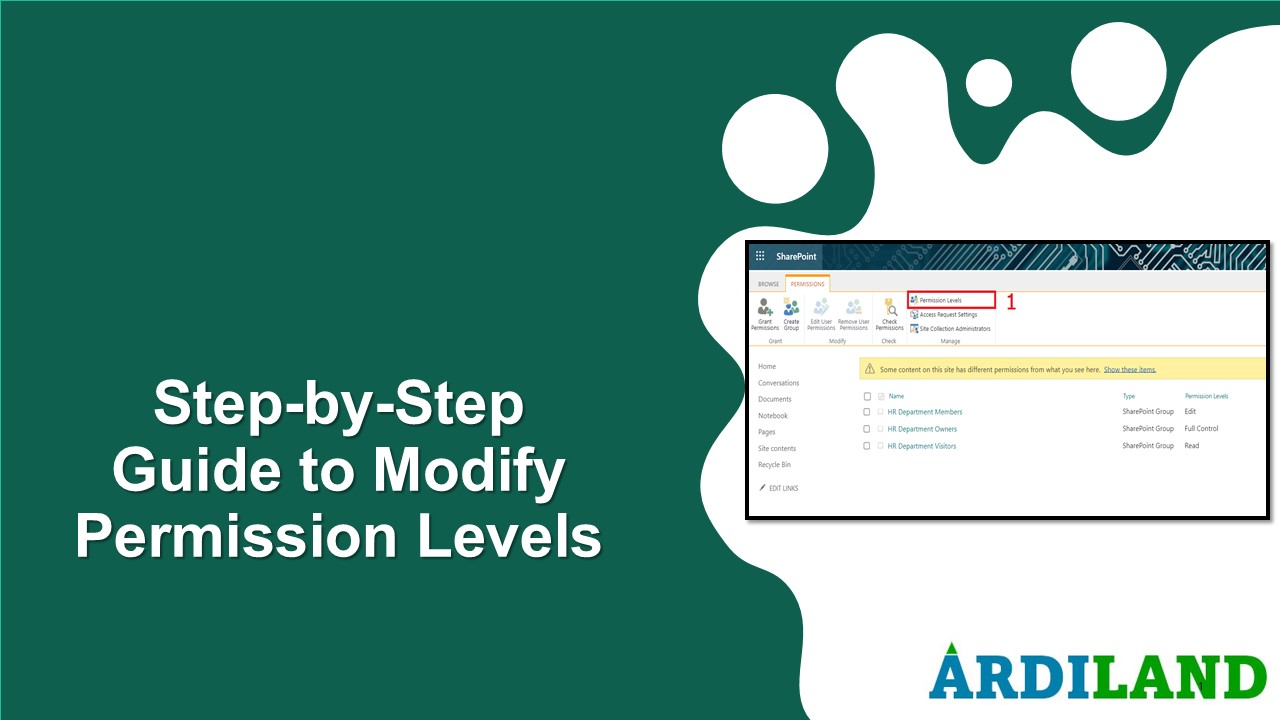
Step-by-Step
Guide to Modify Permission Levels
Before diving into the
steps, let's briefly understand what permission levels are. Permission levels
are the configurations that specify the actions that users are authorized to
perform on a resource in SharePoint. These actions encompass various
operations, such as viewing, editing, deleting, and more. SharePoint offers a
set of predefined permission levels, such as Full Control, Edit, Read etc.,
each with distinct rights. In this guide, I’ll try to walk you through the
process of modifying permission levels step by step.
Step 1: Accessing Site Permission
- 1. Navigate to the site where you want to modify permission levels. Click
on the "Settings" gear icon in the top right corner. - 2. From the setting panel, select "Site Permission."

3. There comes a permission panel. From there, choose "Advanced
permission settings."

Step 2: Access Permission
Levels
1. Click on "Permission
levels" located on the permission ribbon of the permission page in order
to manage the current permission levels.

Step 3: Edit Permission
Levels
1.
On the "Permission
Levels" page, you'll see the list of default permission levels. To modify
an existing level, locate the permission level you want to modify (e.g.,
"Read," "Contribute," etc.). Click on the name to edit it.
 Step 4: Customize
Permissions
- 1.
In the "Edit Permission
Level" page, you'll see a list of checkboxes representing specific
permissions such as “View items,”
"Edit Items," "Delete Items," etc. Customize
the permissions by selecting or deselecting checkboxes based on your
requirements.

Step 5: Save Changes
- 1.
After making the necessary
changes, give the modified permission level a distinct name (if desired) and
save your changes by clicking “submit” button.
 Final Thoughts: By utilizing this comprehensive guide along with
the accompanying visual aids, you can confidently adjust permission levels
within SharePoint. The ability to personalize these levels empowers you to
precisely control user permissions and activities, thereby enhancing both the
security and collaborative aspects of your SharePoint environment.
Comments (0)
Categories
Recent posts


Ethiopia University Exit Exam: What You ...
27 Jun 2023
Grade 12 Exam Preparation Ethiopia | ...
18 Mar 2025
How to Make Money Online in Ethiopia | ...
18 Mar 2025


